I love the Holidays especially Christmas! I love the bright colors and have become obsessed with all the fun shapes of the ornaments! I mean have you walked into Target lately? They have all these amazing shapes made of paper hanging from their ceiling and it just makes the place so much more magical! So I had a BRILLIANT idea to make a table runner using some of my most beloved shapes and designs of my favorite ornaments!

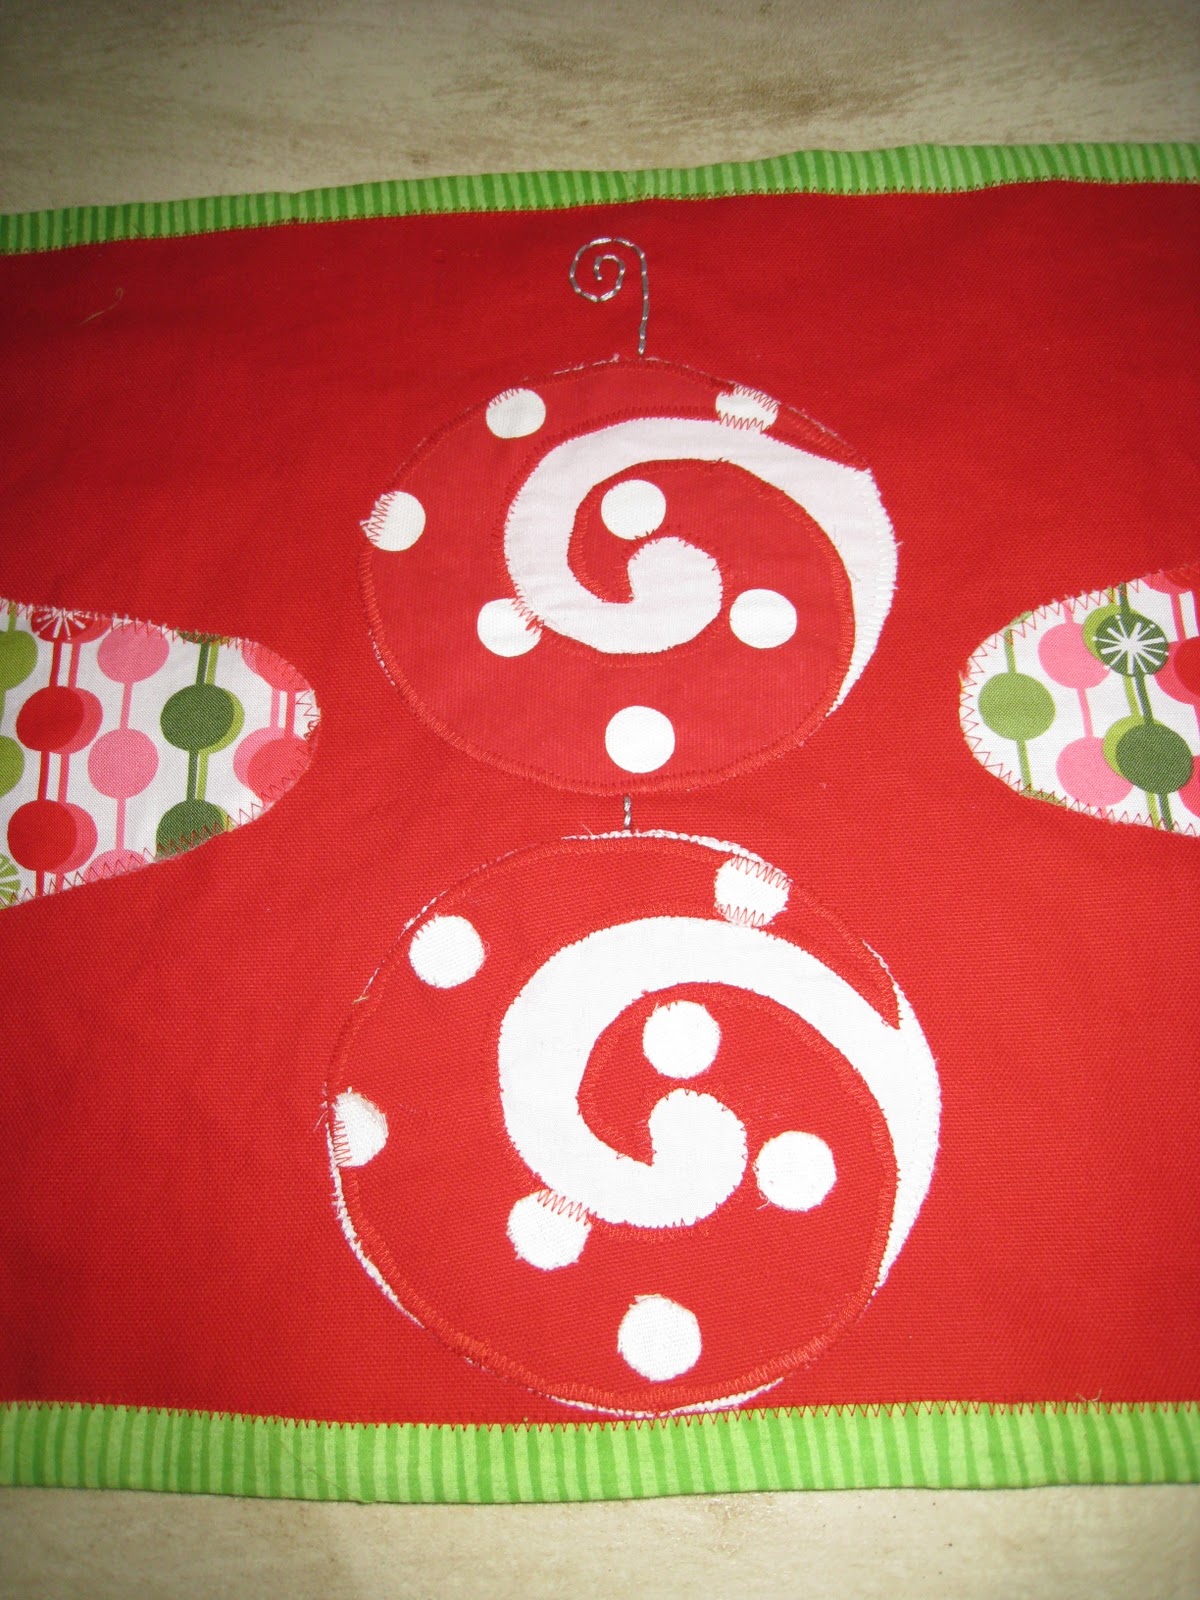
This is what I came up with! I must admit I love it ~ yes I am a little biased! But after debating what to do for a week and a half I am pleased with the way it turned out!


Then I cut out a circular oval to go behind it

Next I cut out the third shape of my table runner and pinned onto my fabric and cut out two of those as they are a little bit bigger


Then I positioned onto the runner and used wonder under and cut according to the shapes above and then i ironed on. Next I used a zigzag stitch for the big ornaments to keep them in place


Once I sewed on the big ornaments and the small ones on I layed out the table runner

Then I drew on the hooks using a blue maker that washes away with water


Once all that was done I cut out the binding using some left over green fabric that I had. I cut it 2 1/2 inches by the width and lenght of the runner. Then I sewed together to make one long piece. Then i folded in half and in then folded the two sides into the middle and ironed it. Next I pinned it around the raw edges and sewed it on using a zig zag stitch.
Here is a better picture of the middle

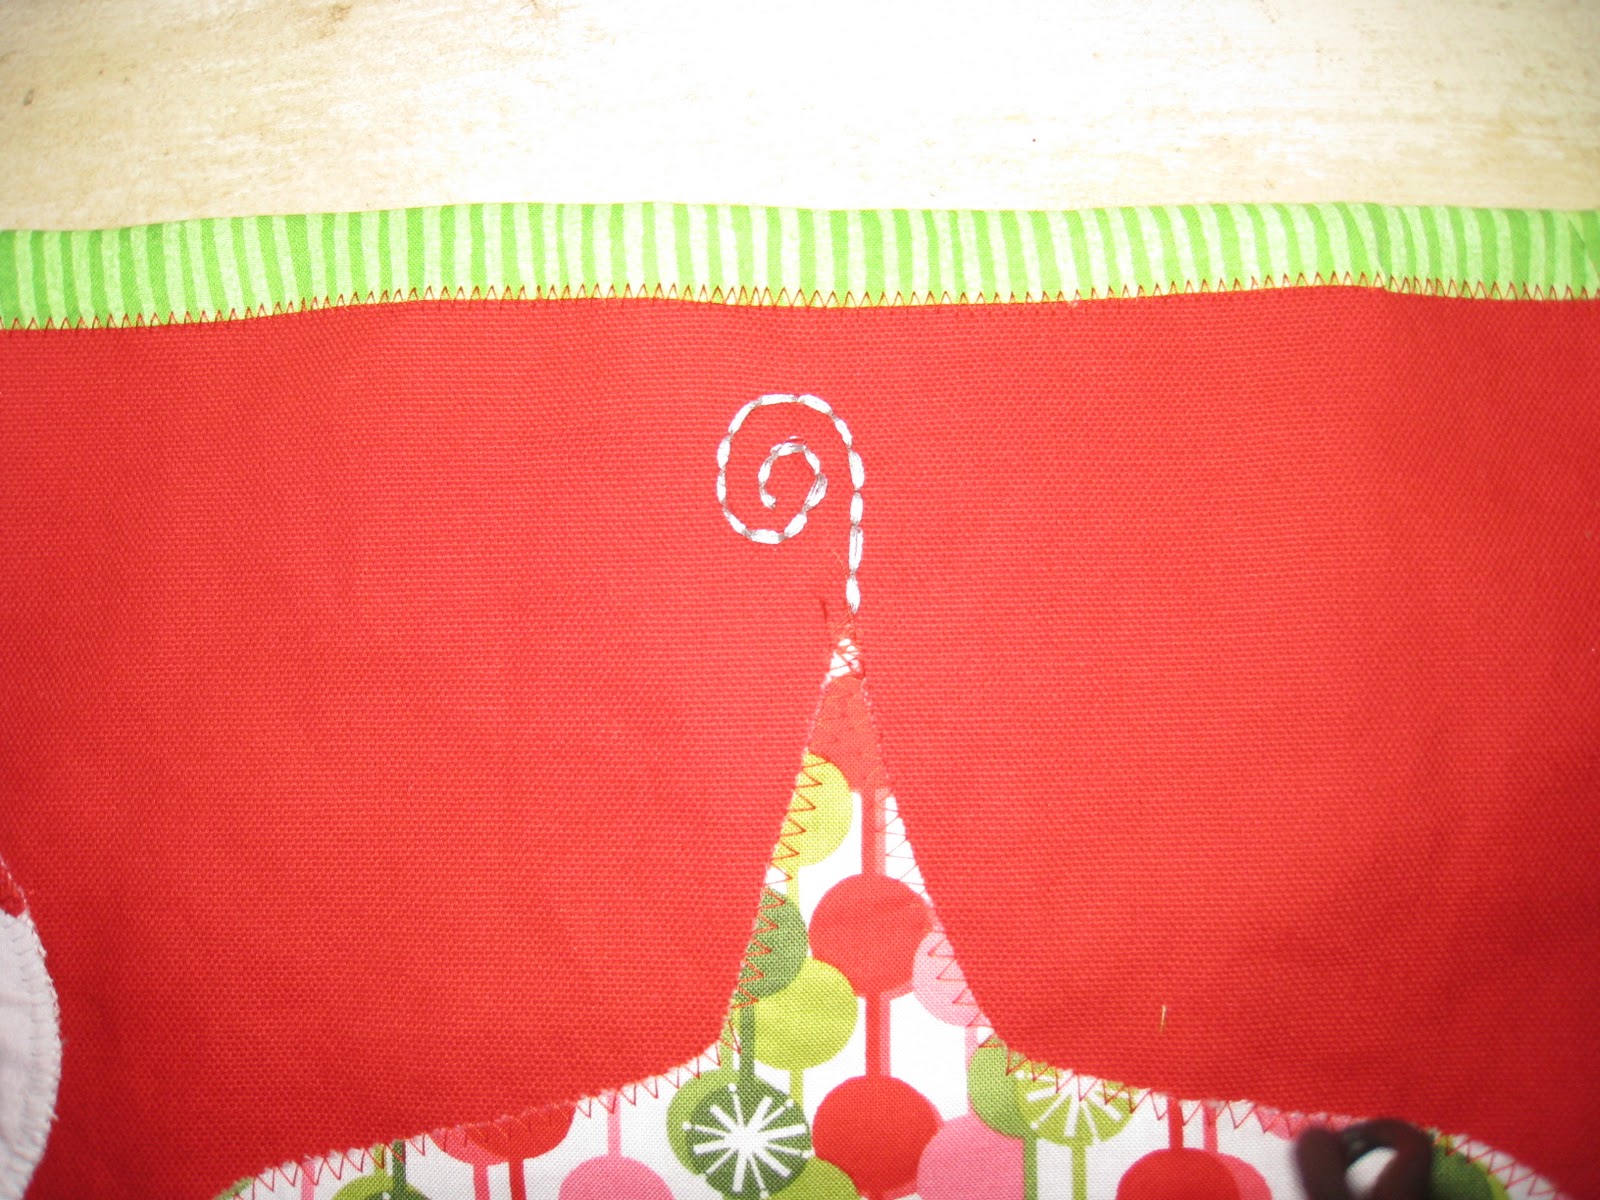
One thing I forgot to do was to take a picture while I embroidered the hook. I used a backstitch stitch and used a metallic silver thread to give it a "realistic" look.


For the backside I used this fun tree fabric that I had and here it is with the binding on
I hope you like my latest creation!
Happy Holidays
No comments:
Post a Comment